Master Bath – Tile Sneak Peak

Construction is moving fast! Much faster than I can keep up with on the blog!  Our crews are finishing up some minor drywall repairs, installing trim around the new doors and windows, crown molding in a few of the rooms and, most importantly, tile in both the master and kids bathroom!

Here is a sneak peak, with compliments to The Tile Shop for their awesome product selection and design inspiration. Can’t wait to show off the finished product!

IMG_6327

On to the Fun Stuff!

Who knew holding down a full time job, flipping a house, managing a few rental properties, helping care for our newborn daughter (it’s mostly my wife), building a website for my father-in-law’s homebuilding business, managing a blog, trying to find some alone time for my wife and I, plus all of the other small projects that come up (tax season, ah!!!) would be so, well, time consuming?   As someone who likes to have more on my plate than I can handle, even I didn’t realize it’d be this difficult!  So you have to understand my apologies for not updating the blog as regularly as construction at the Century Home flip would allow.

So, let me catch you up to speed!  We’re about a week behind our construction schedule, but overall the project remains largely on budget. We passed our electrical inspection last week and our plumbing inspection yesterday – remember, our scope of work called for all new plumbing and electrical in the house. With all of the rough work (incl. demo & framing) done at the house, we’re finally able to move on to the fun stuff!

Our drywallers will begin hanging sheetrock tomorrow and cement board is currently being installed in both of the bathrooms in preparation for tile. Tile! My father and I delivered about 3,000 pounds of marble floor and wall tile earlier this week, which is no easy task.  The plan is to have both bathrooms tiled by the middle of next week.  After that, we’ll be moving on to tile flooring in the kitchen, which still needs to be picked out.

To be sure, there is still on ton of work to do, but the finish line is in sight.  At this point, it’s mostly picking out finishes – paint colors, light fixtures, countertops, etc.

Until next time!

Century Home: Interior Before Pictures

We’re officially on day 6 of construction at the Century House.  So far, our HVAC contractor has been removing the existing radiators and associated plumbing in preparation for a whole-house forced air system.  Our general trades will begin demo of the kitchen, bathrooms and a few walls on the second floor this week.  We’re beyond excited to be in the full throws of rehab.

I stopped by the house earlier this week to take a few “before” interior photos.  Below is a quick photo tour of what will, in 3-4 months, be a beautifully restored home in  a storied neighborhood.

Note: The home was vacant for two years and was broken into by some punk kids, who decided to add a little bit of their own vulgar graffiti. 

IMG_4613

Butler stairwell and butler’s pantry off the kitchen. Both will be demo’d to increase the size of the kitchen by 40%.

IMG_4614

Kitchen – cabinets and soffit to be demo’d this week. Increased square footage will allow for a center island.

Dining Room - love the coffered ceiling!

Dining Room – love the coffered ceiling!

Looking down from the stairwell to the front entry.  To the left, the living room.  To the right, the dining room.

Looking down from the stairwell to the front entry. To the left, the living room. To the right, the dining room.

Center hall colonial - stairwell leading to the second floor.

Center hall colonial – stairwell leading to the second floor.

HUGE living room.

HUGE living room.

The hardware in the home is tremendous!

The hardware in the home is tremendous!

Third floor.  Will make for an amazing rec room.

Third floor. Will make for an amazing rec room.

Second floor hallway.

Second floor hallway.

Current master bath.

Current master bath.

Giving My Wife a Bath: Demo Day!

For the last month we’ve been negotiating the purchase of a short-sale in Shaker Heights and have largely suspended our marathon showing sessions as we do expect  our bid to be accepted at some point.  With the resulting free time, my father and I have been hard at work renovating our third floor bathroom so my wife can finally enjoy a nice bath! You can check out my inspiration here.  We’re actually almost done with the rehab, but I’ve been a bit lazy with the blog.  So, lets get caught up 🙂

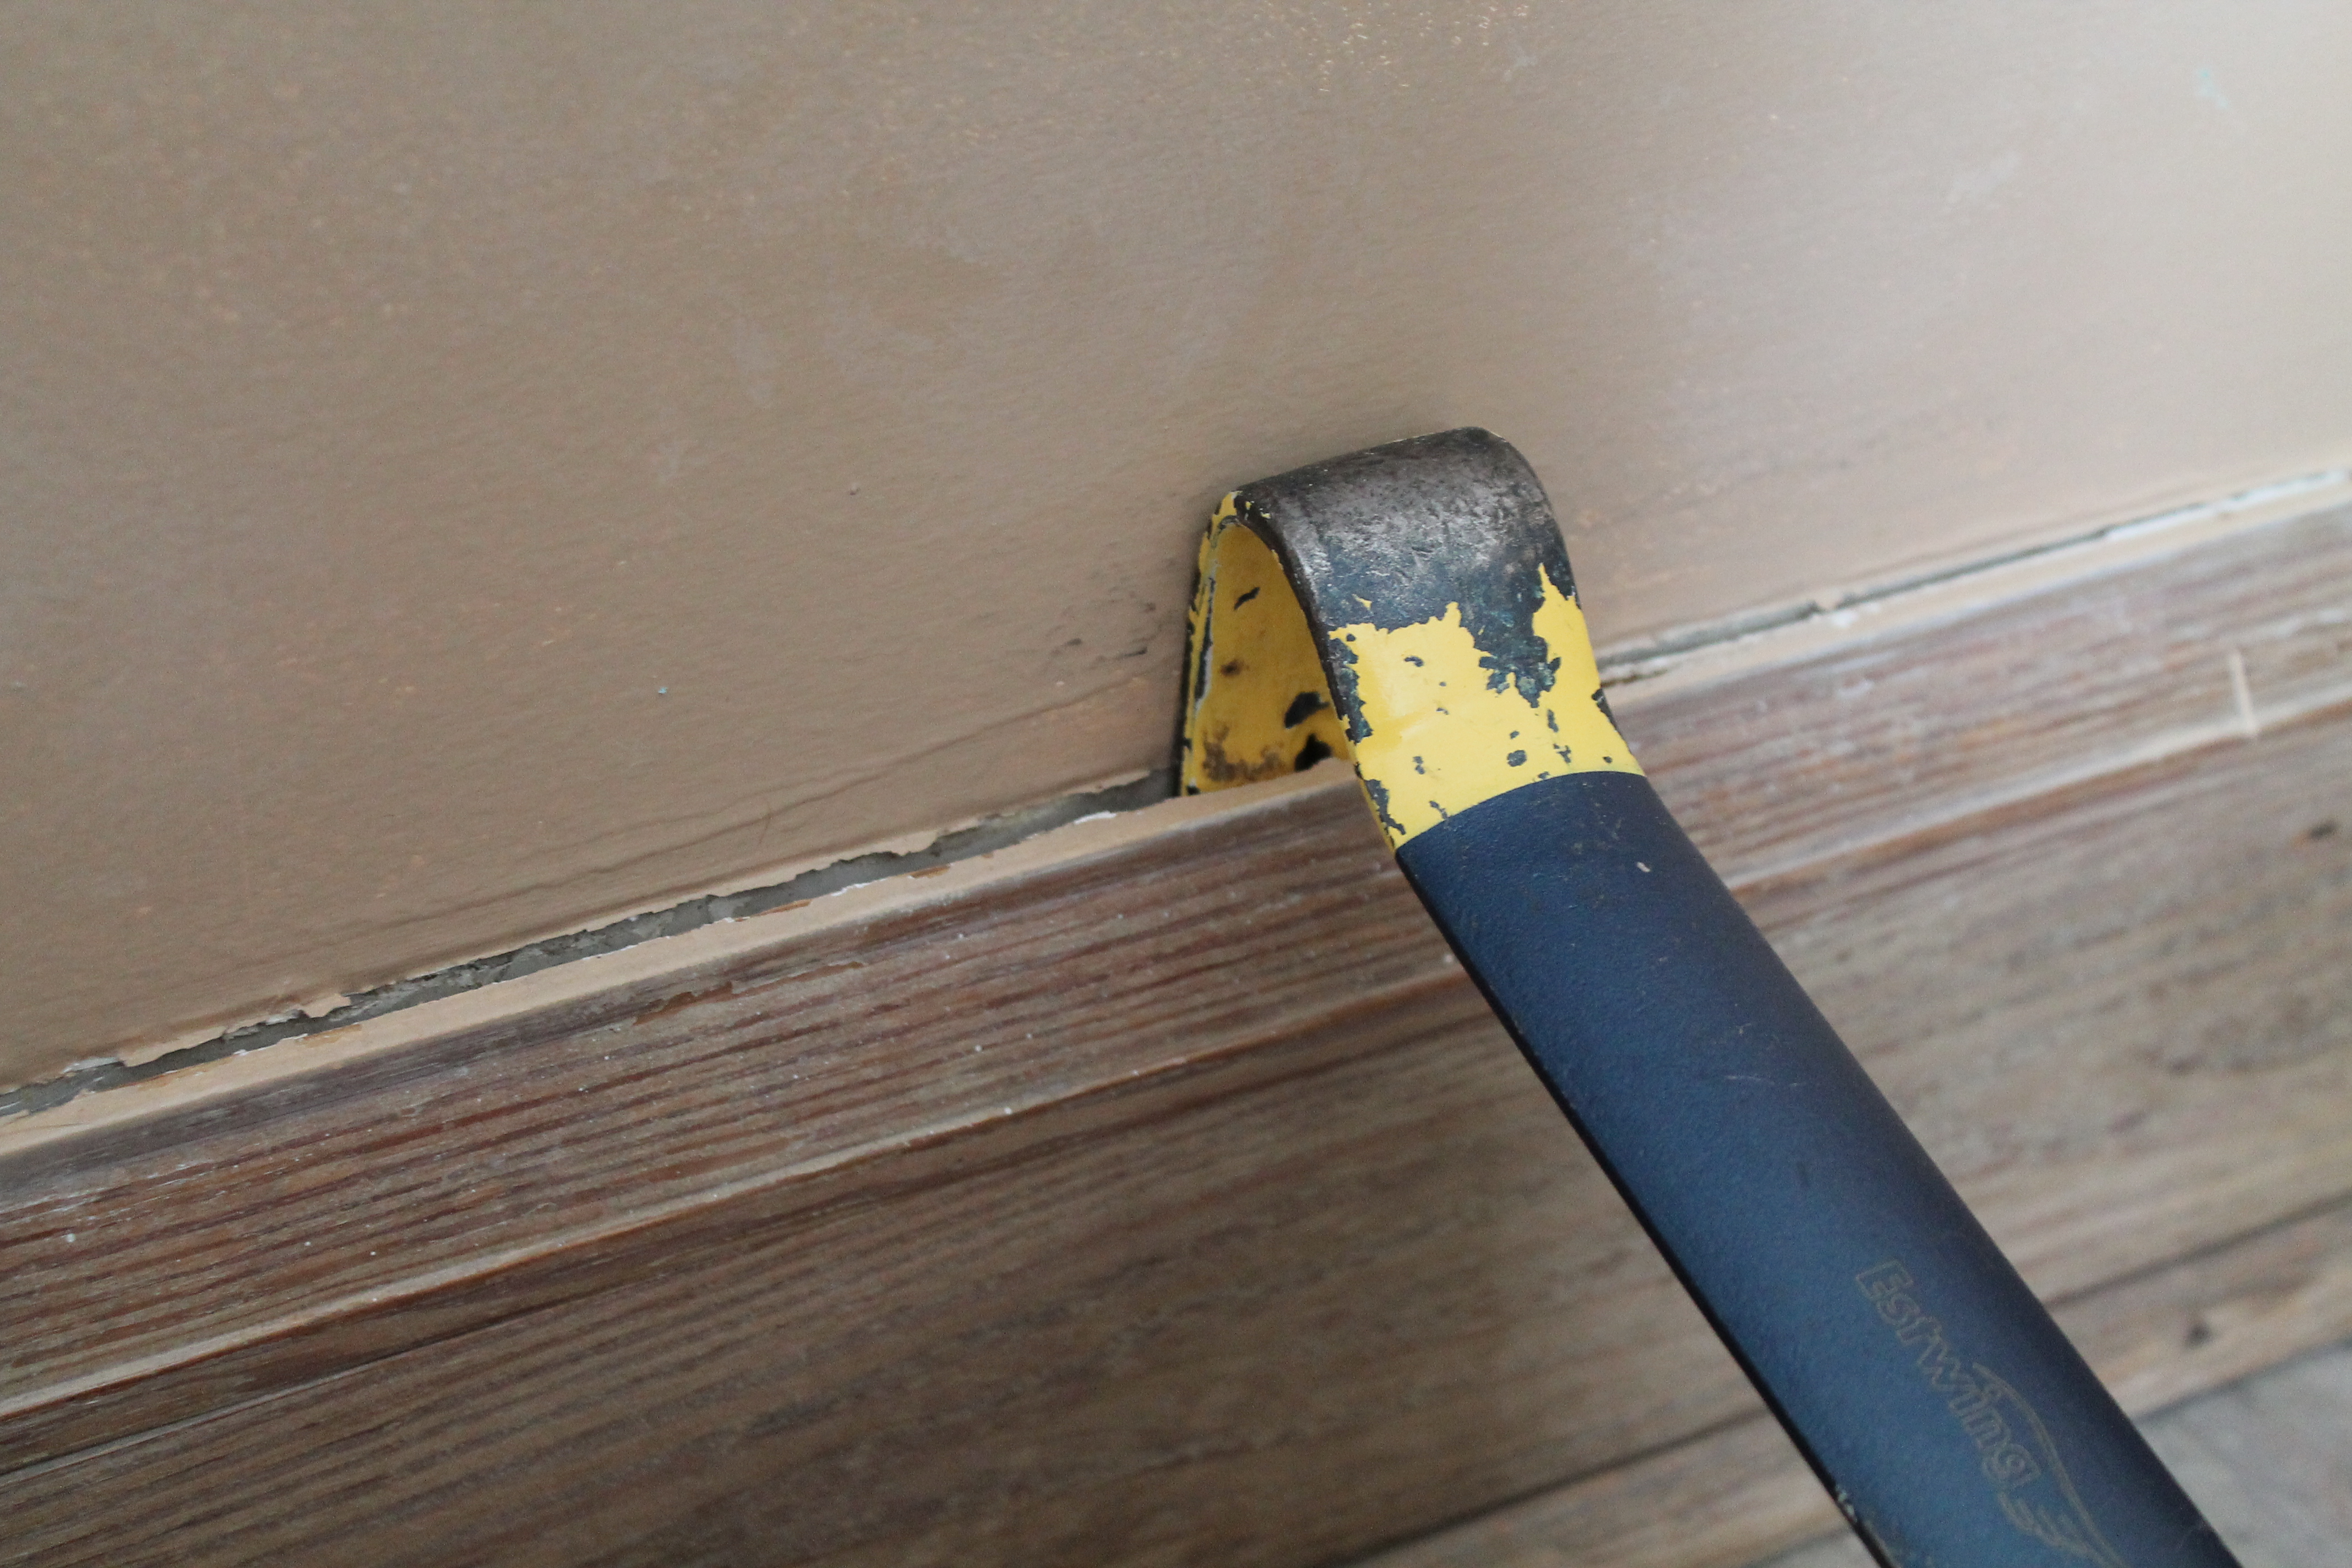
The first step is always my favorite…demo!  To get the room prepped for new wainscoting and flooring, I first needed to remove the top-cap from the existing baseboards so that the vertical stiles would fit neatly into place.  Easy enough…nothing a crowbar can’t handle:


How to Remove Baseboards


Removing the existing flooring was just as easy, albeit slightly more messy.  Why the previous owners decided to lay such a cheap and ugly product over the original hardwood floors is beyond me; but, to each his own. Anyways, a little prying with the crowbar and some muscle was all that was needed.  If a floor covering comes off that easily, it should have never been installed! Oh, and it was a sticky job…lots of glue under there!  I felt like I was walking through a mousetrap!

IMG_3902

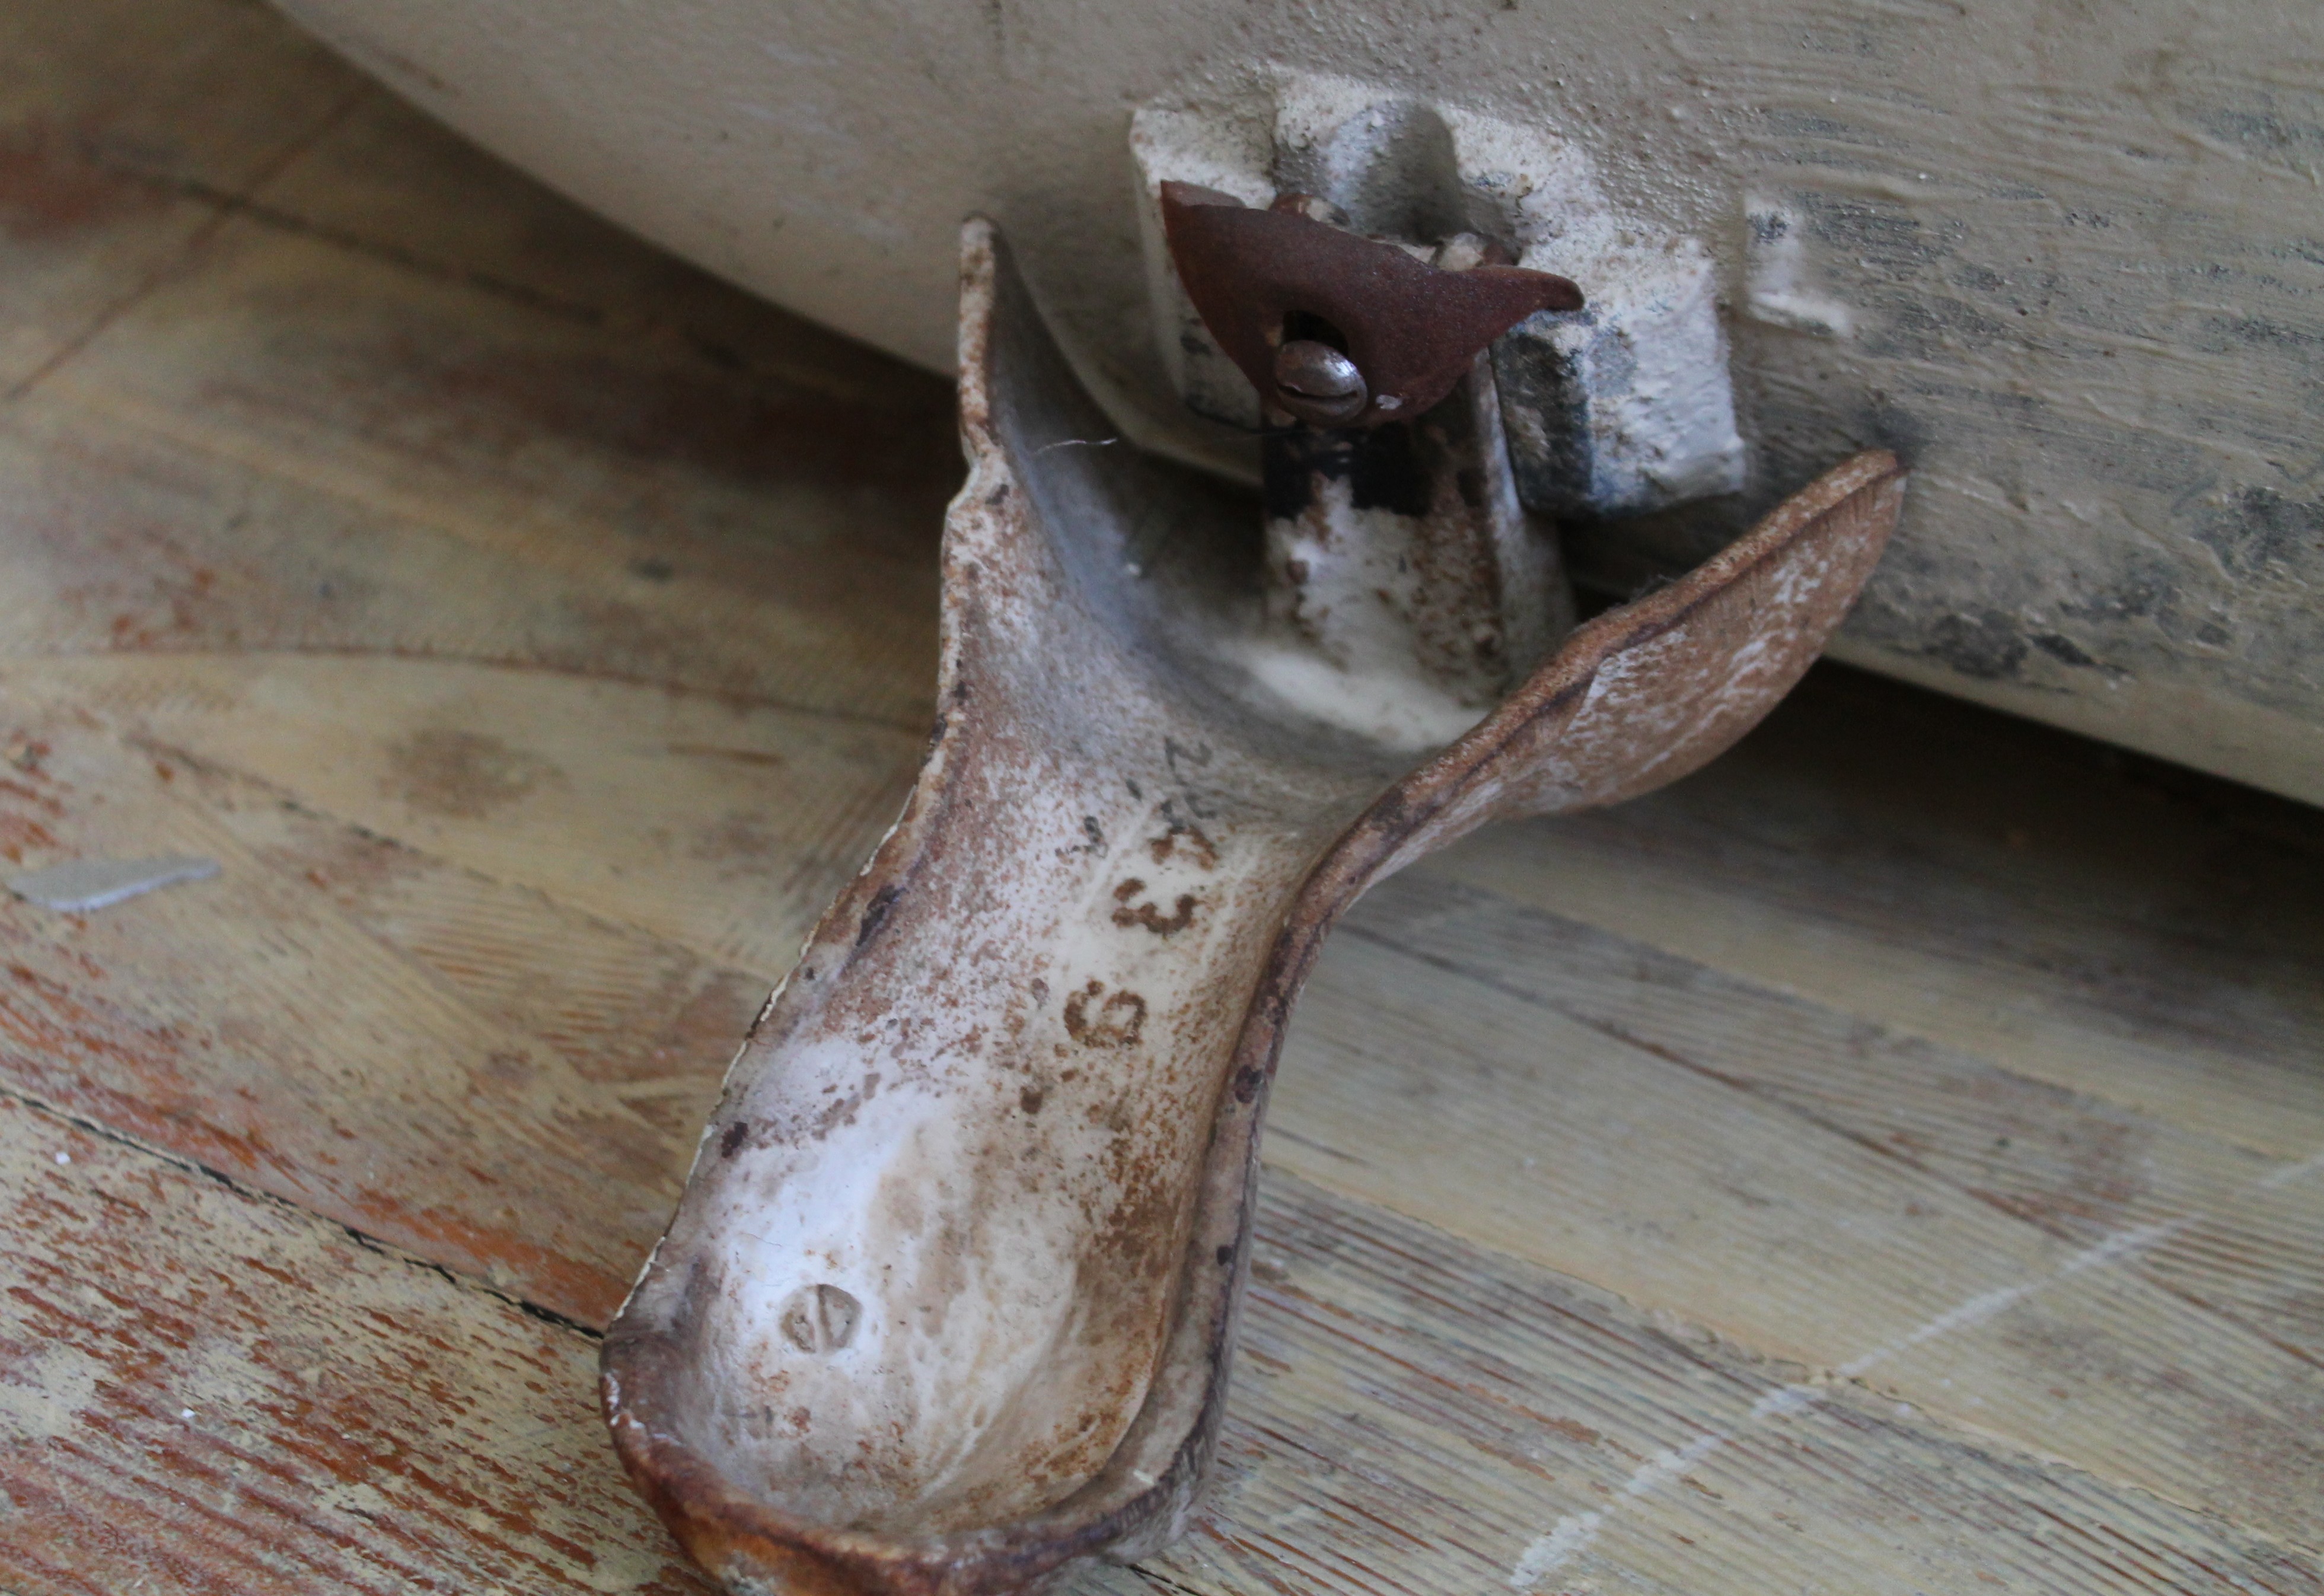
The next step was to disconnect the massive cast iron tub, which probably weighs a little over 150 pounds and is effectively the centerpiece of the renovation.  Not knowing how such tubs are made, I was a little nervous as to how we’d get it out of the room, but my father quickly realized that the feet of the tub could easily be removed so that the unit can fit through the door.  Loosen the screw and they slide right off!

Clawfoot Tub Feel

Once we got the tub out of the bathroom, we inspected it for cracks and quickly noticed the manufacturer’s imprint on the bottom.  As it turns out, the tub was manufactured in 1931 by the Standard Sanitary Manufacturing Company based out of Pittsburgh, PA.  Pretty cool! Many times, I prefer old things to new. I appreciate the character, the history and the vintage aesthetic.  This made my decision to keep the tub (and buy a house build in 1932) much easier. That said, I am a little creeped out by the fact that we’ll be taking baths in a tub that has been used by countless other couples over the last  83 years!


Clawfoot Tub Restoration

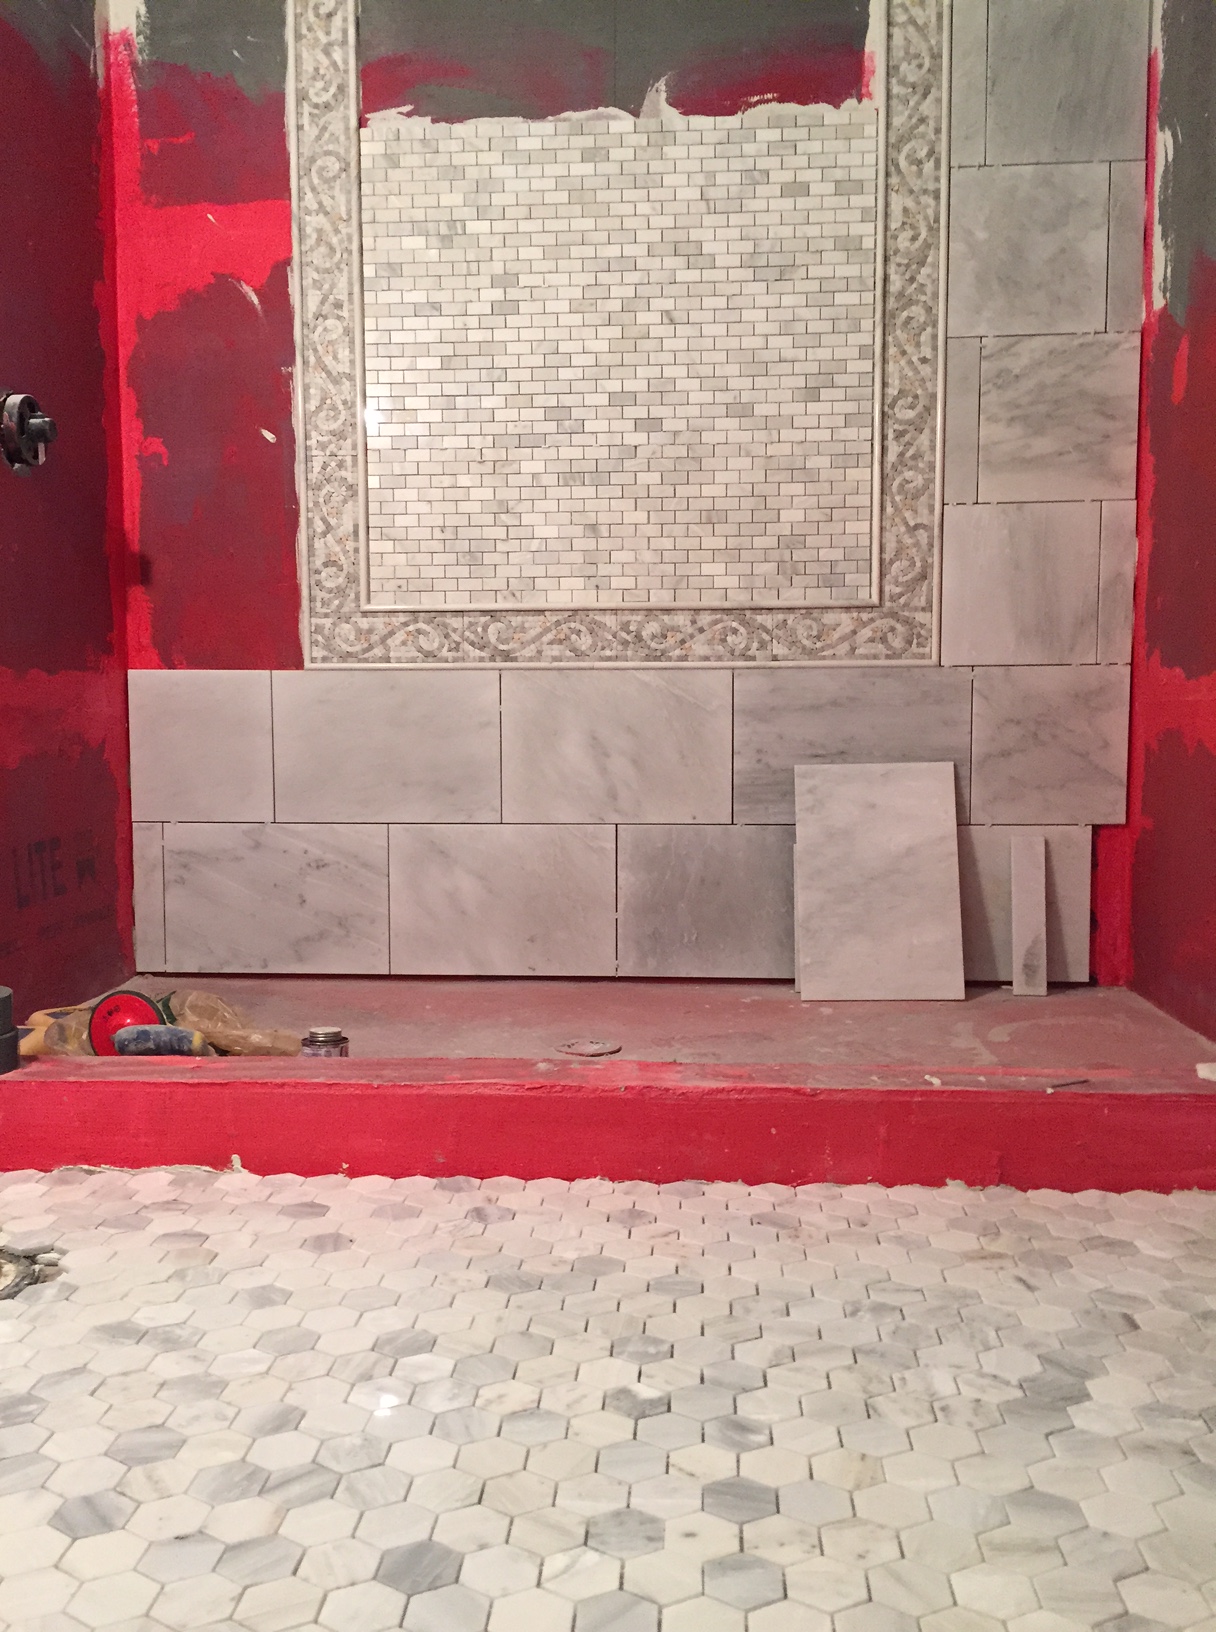
Anyways…the wainscosting is the next step.  Until then, be sure to check us out on Pinterest and Instagram!